Most of my hobby applications run as Docker containers on a Synology NAS and I really love this cheap and easy possibility to run applications at home.
For managing the Docker containers I used the Synology Docker management user interface until now. It is a lightweight possibility to download Docker images, and to manage the Docker containers without having to deal with the command line.
Sometimes there is a need for settings, which can’t be done with the Synology user interface. This is e.g. the case, if you want to set a specific Docker log driver to collect the logs of Docker containers in a central place - at least this was the trigger for me to check, which alternatives are available.
I already knew Portainer but never used it on a NAS which usually comes with some wrappers around well-known tools like Docker, which sometimes lead to problems. So I decided to give it a try and to document the necessary setup steps in this blog post.
Create The Portainer Docker Container
Portainer itself will also run as a Docker container which also simplifies the setup.
First I thought that the easiest approach would be creating the Portainer Docker container using the Synology NAS user interface.
I tried it and soon I recognized, that it is not possible to mount something other than network shares as volumes.
Therefore, it is not possible to mount /var/run/docker.sock as required.
This means, it is unfortunately not possible to manage the Portainer Docker container using the Synology user interface.
That’s why the Portainer Docker container needs to be created using the command line. Please connect to the NAS via SSH. Then replace the placeholders in the command below and run the resulting command via SSH on the NAS.
shell script
sudo docker run -d
  -p <port>:9000
  --name=<name>
  --restart=always
  -v /var/run/docker.sock:/var/run/docker.sock
  -v <volume>:/data
  portainer/portainer:<version>
The placeholders used are:
port: The port on which the Portainer web application will be reachable. Make sure this port is not in use yet. I used9000as value.name: The name you want to use for the Portainer Docker container. I usedportaineras value.volume: The path to the directory on the NAS which is used to store persistent data belonging to Portainer. I used/volume1/docker/portainer/data.version: The version of the Portainer Docker image. I recommend to always specify a specific version to have full control over the version used for the container and to make the setup reproducible. If this is not relevant for you, feel free to uselatest. I used1.24.0.
This command creates the Portainer Docker container and takes care, that it is automatically started e.g. if the NAS was rebooted.
Configure Portainer
Once the Docker container is created and running, you can access the Portainer user interface in the browser.
Just replace the placeholders in <http|https>://<nas-domain-or-ip>:<port> and navigate to the resulting URL.
The placeholders used are:
<http|https>: Choose the protocol you use to access the NAS.<nas-domain-or-ip>: The domain or IP you use to access the NAS.<port>: The port you used as placeholder in the previous section.
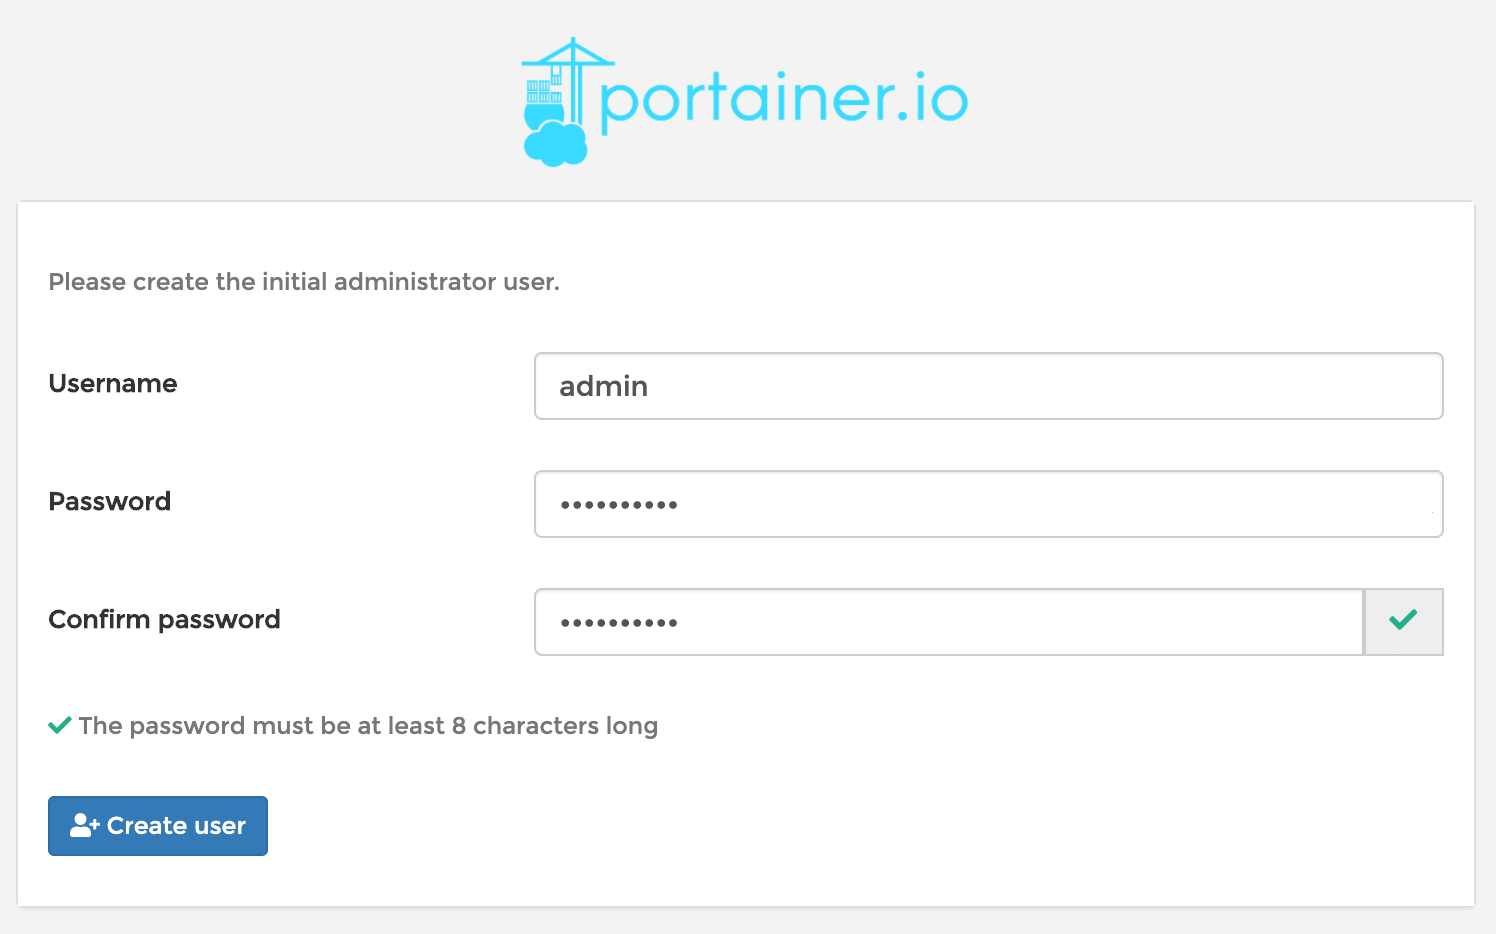
The page you will see should look similar to the one below. It is used to create the first user on Portainer which will get administrator permissions automatically. Specify the desired username and a safe password and click on the button to create this user.
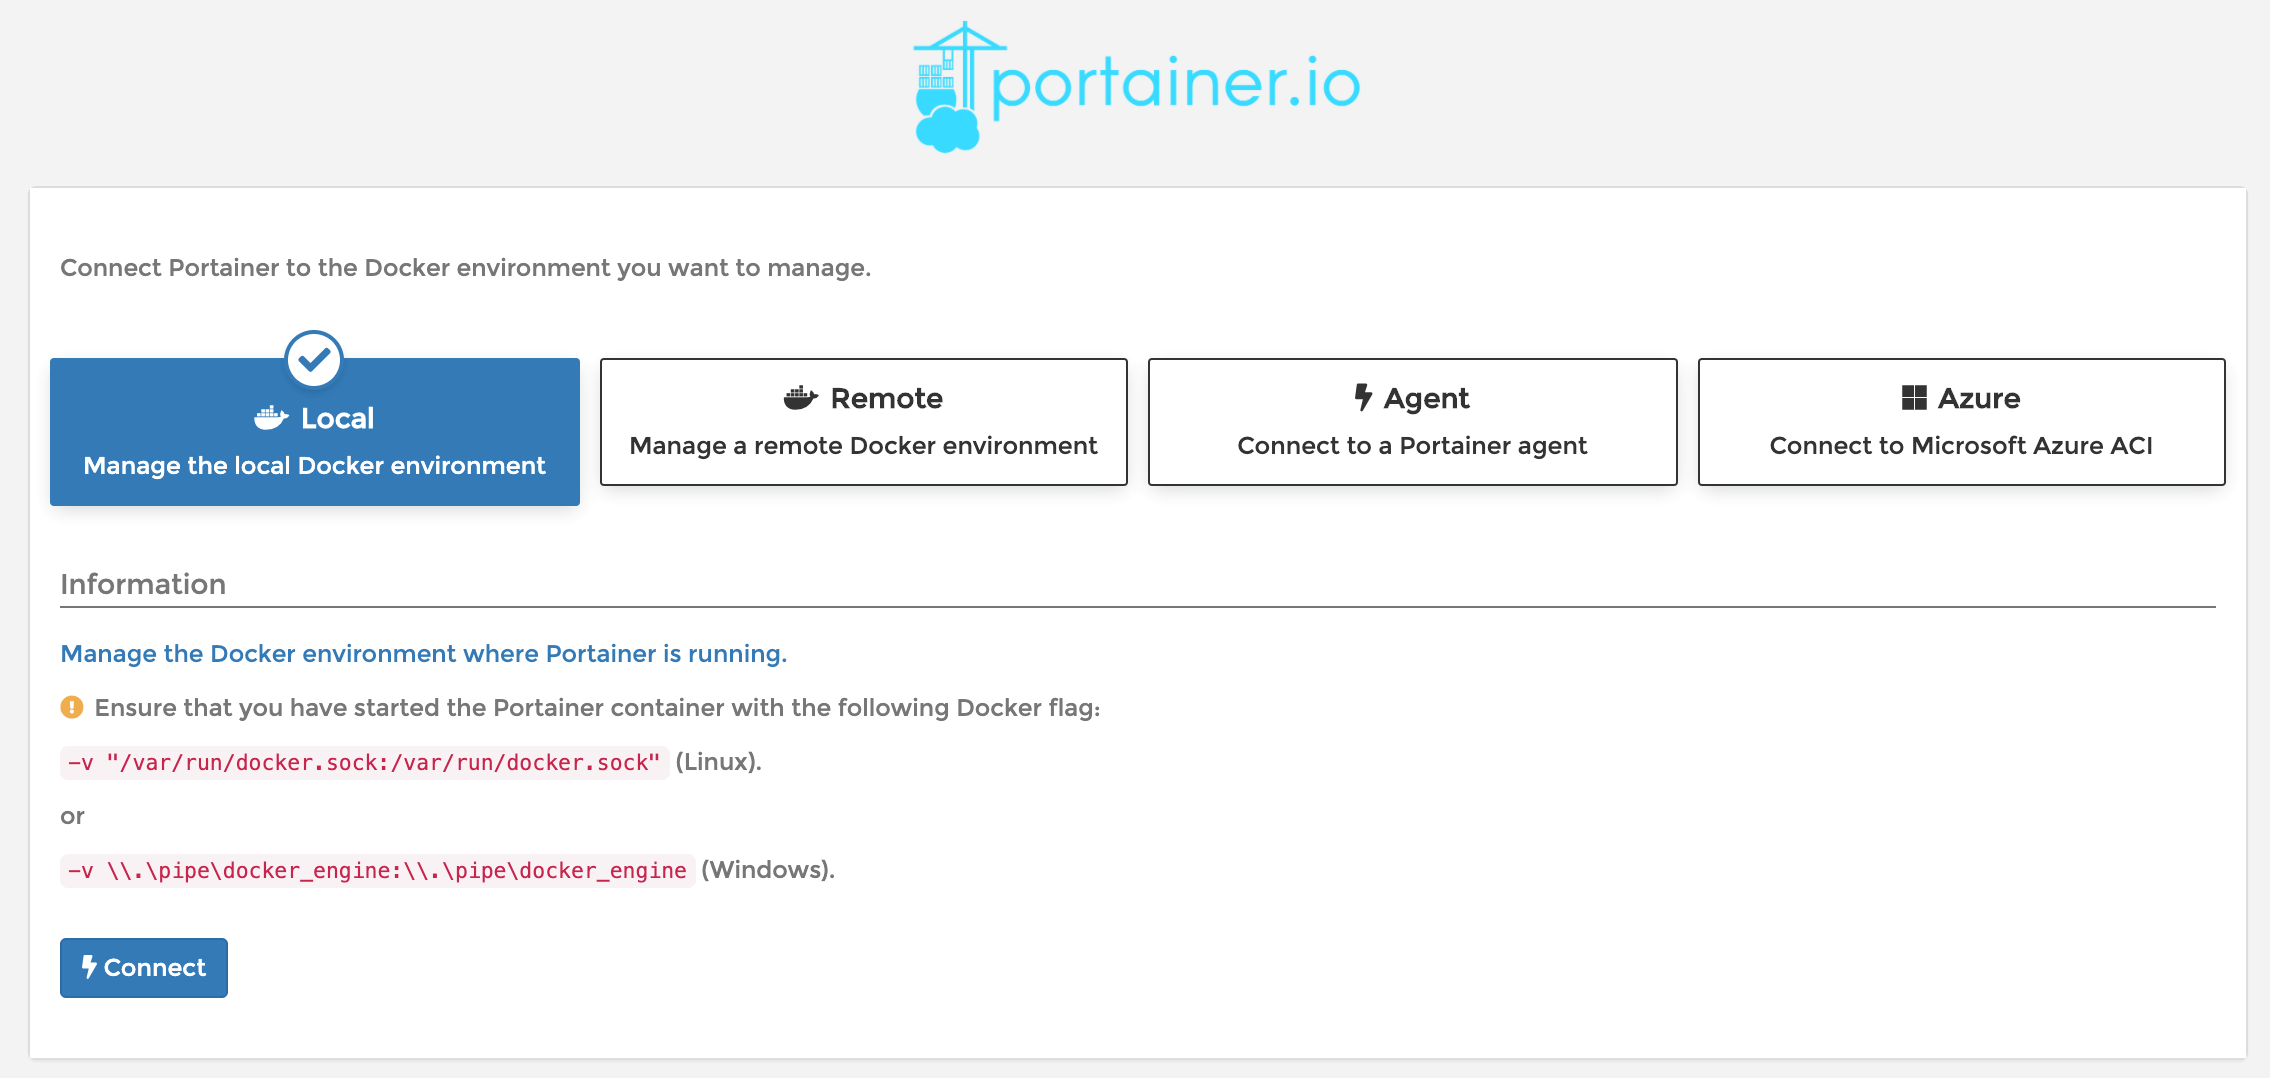
The next step is to further configure Portainer.
You need to select the Local option.
Then you can click the button to start the connection process.
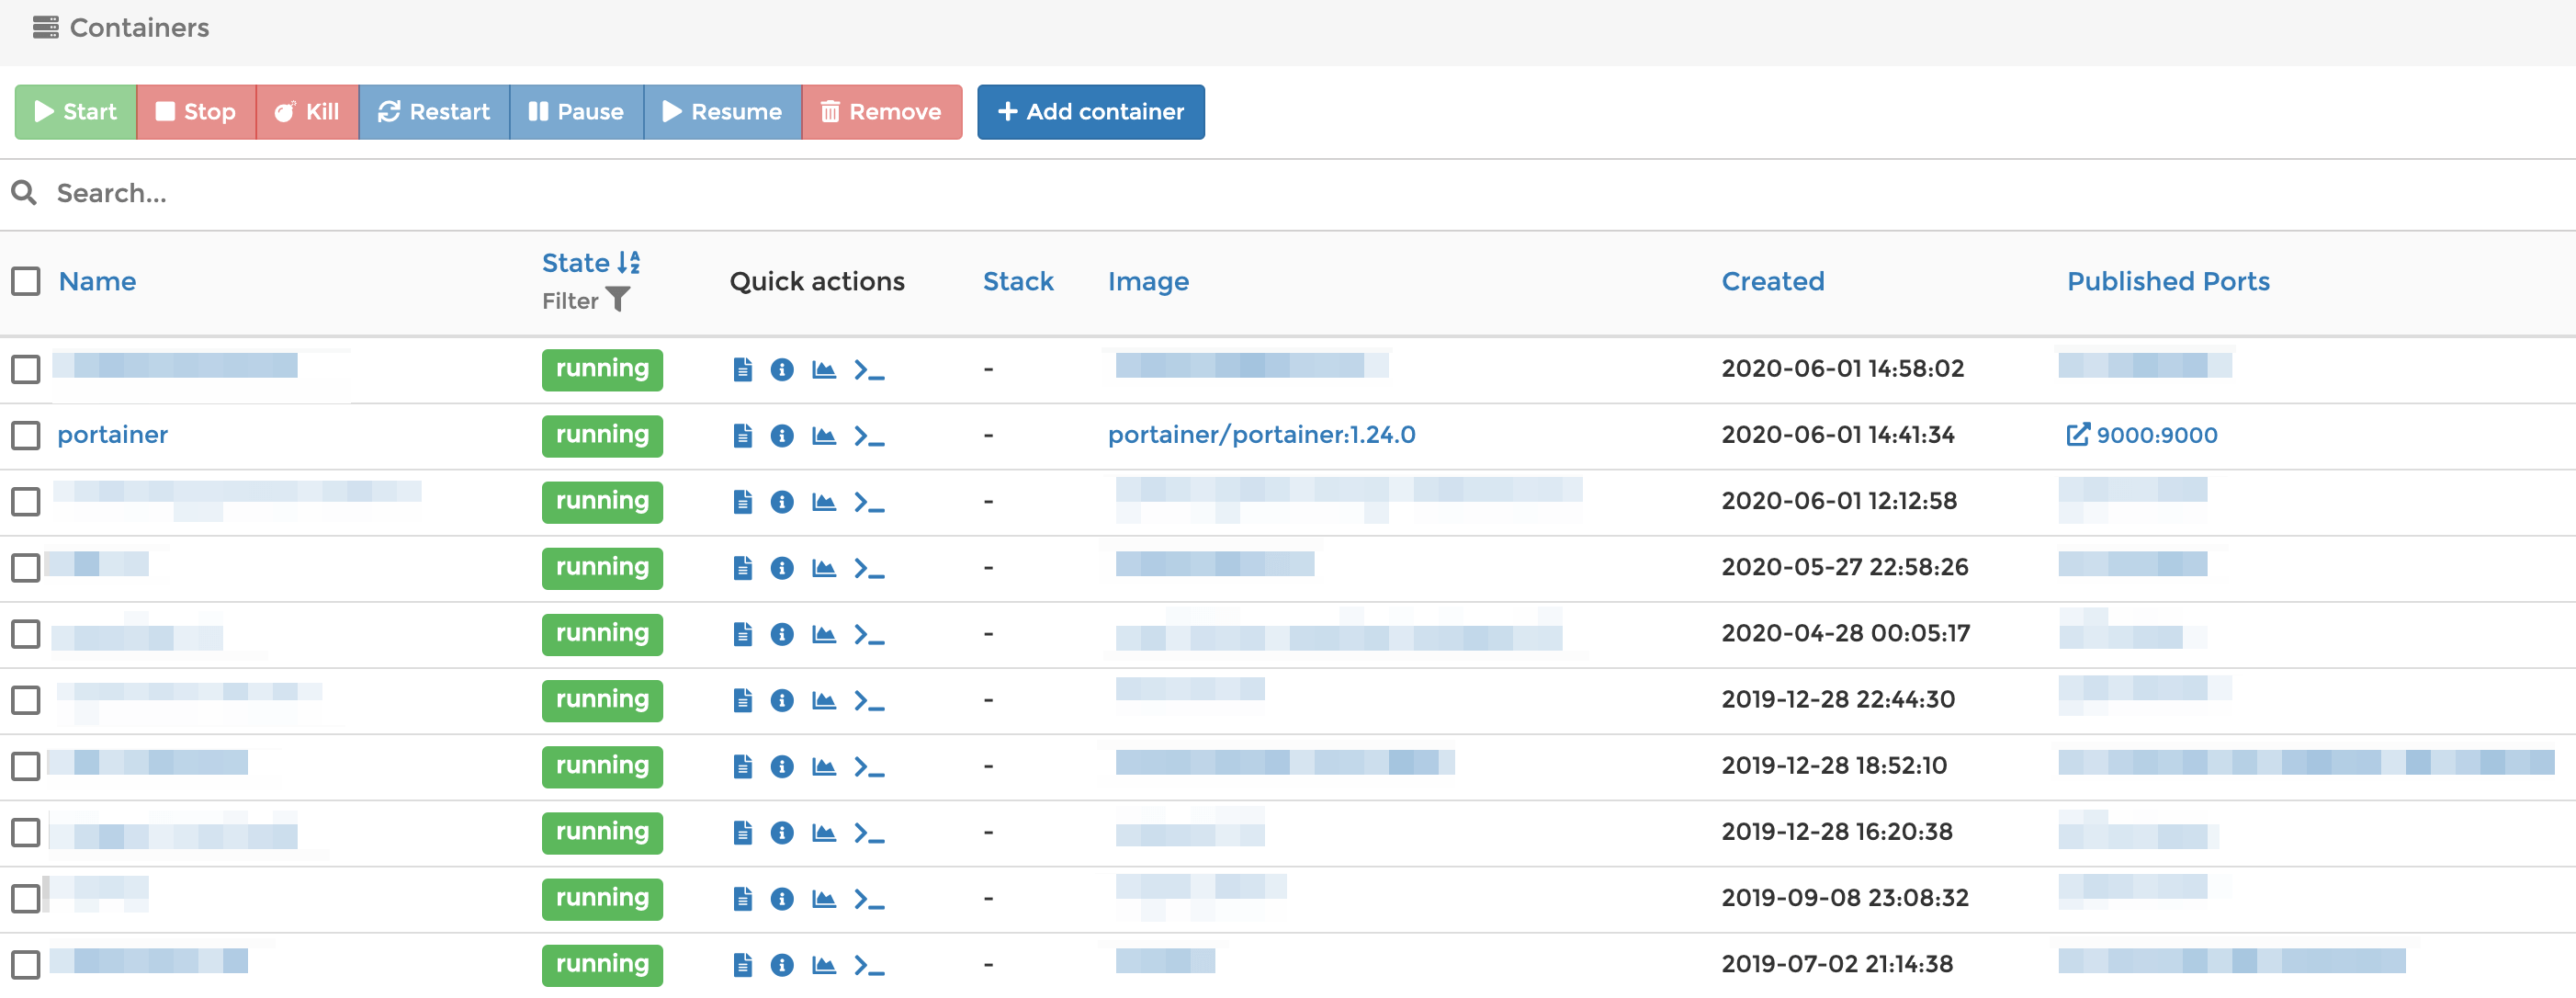
Once connected, you can navigate to the containers section which lists all existing Docker containers. This includes also Docker containers which where created using the Synology Docker user interface.
Please be aware that the Docker containers won’t show up anymore in the Synology user interface once you modified an existing Docker container with Portainer. Also, all Docker containers created by Portainer won’t show up in the Synology user interface.
Conclusion
With the Portainer setup described here, you have an alternative to manage Docker containers on a Synology NAS. Using Portainer offers access to all Docker features - not just the limited feature set provided by the Synology user interface.
2 Comments
Sam on August 12, 2020
Great post! I have some gaps in knowledge still, though: my DS218+ is on a 192.168.1.0/24 subnet and Docker containers running on it get assigned to a bridge interface using the 172.17.0.0/24 subnet. The Portainer container starts up, and 'docker inspect portainer' shows it has an IP address of 172.17.0.2, but I'm not able to reach it. A tracert shows destination unreachable from the router. Any advice on what steps I'm missing? I'd guess a static route, but am unsure of the proper way to configure that. Thanks for the help!
Joki on February 07, 2021
THanks! Working very well!!
Leave A Comment
I'd love to hear your opinion and experiences. Share your thoughts with a comment below! Please note that comments will appear after moderation.