My parents were surprised, that their energy consumption did not drop once their three children have moved out.
The assumption came up, that the additional energy consumption caused by my sisters and myself must have been low compared to the total consumption. To verify this and to locate, where the energy is consumed, we decided to use some smart power plugs to monitor the suspicious devices like an older freezer.
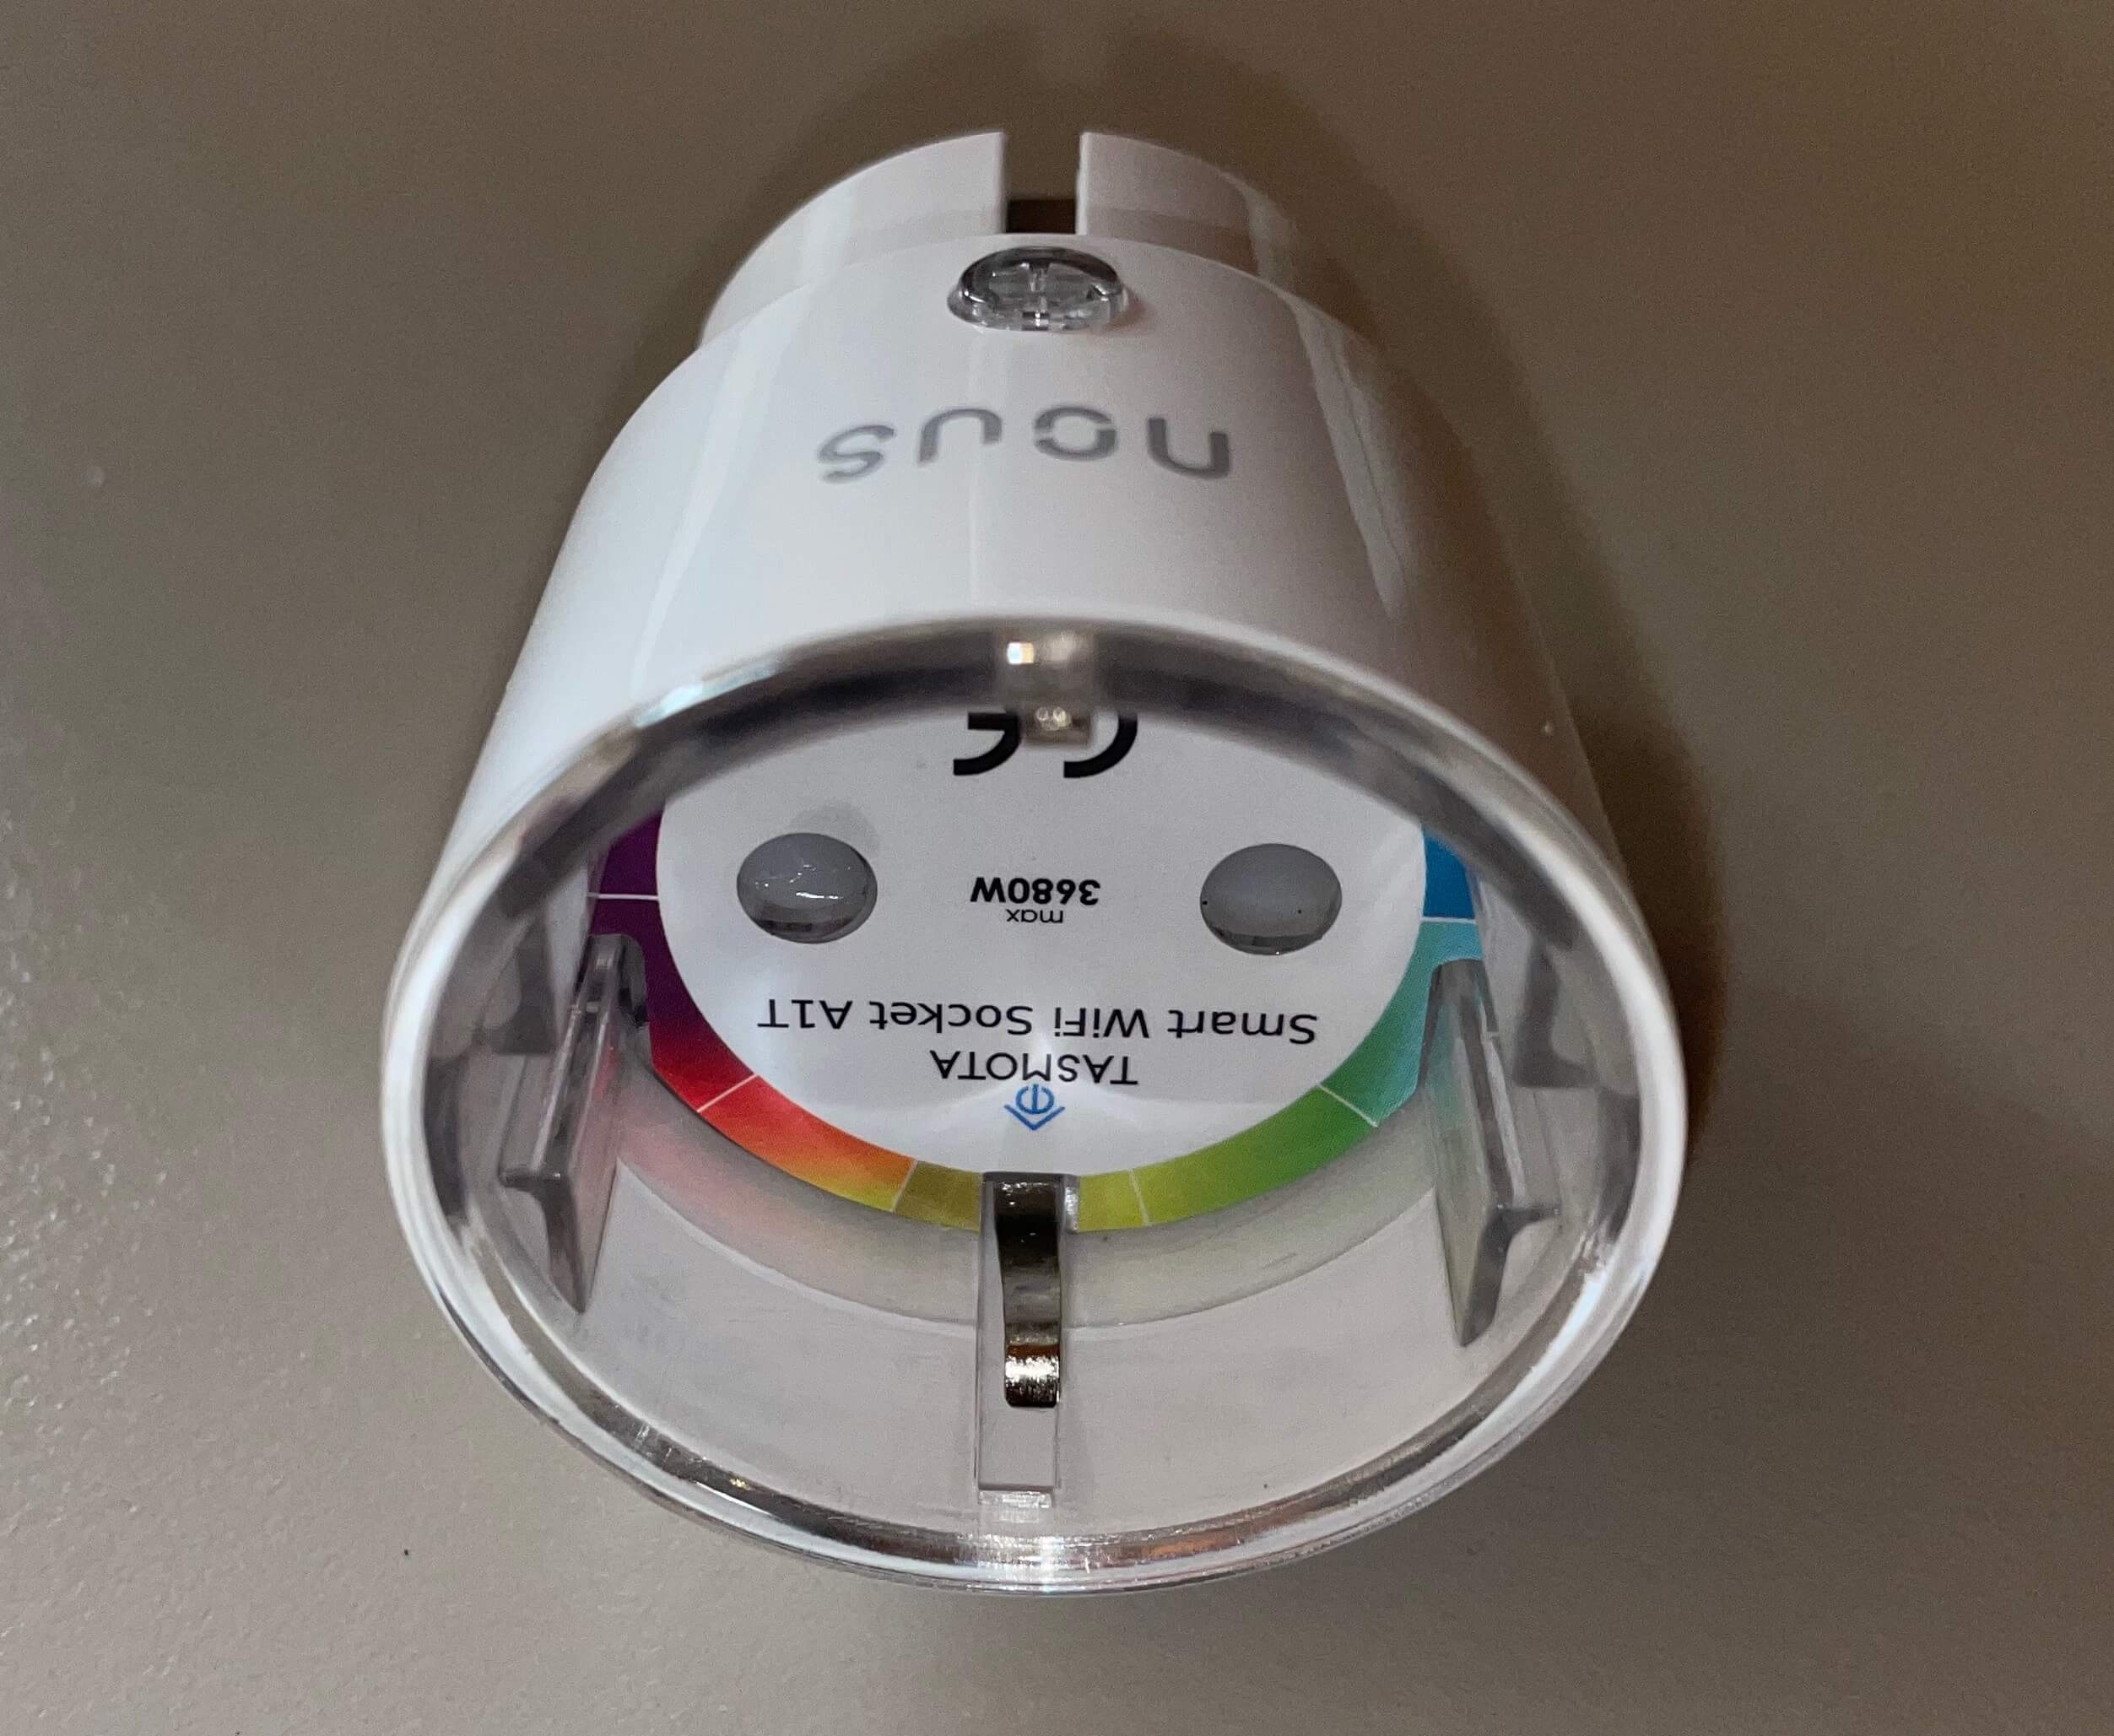
After some research, I found the Nous Smart WIFI Sockets with pre-flashed Tasmota. We bought a bundle of four pieces and integrated them with the existing Home Assistant installation.
This blog post describes the setup of such Tasmota controlled smart power plugs with Home Assistant and explains, how you can prevent that someone accidentally turns off the power supply - something you are happy about, when e.g. a freezer or a fridge is plugged in.
Connect the Power Plug to Your Wifi Network
Due to the fact, that I’m using power plugs with pre-flashed Tasmota, the process starts with pairing. For the Nous Smart WIFI Sockets the necessary steps are described in the manual provided on the website.
If you use compatible power plugs, which require manually flashing of Tasmota, you will for sure find some additional guidance in other tutorials in the web.
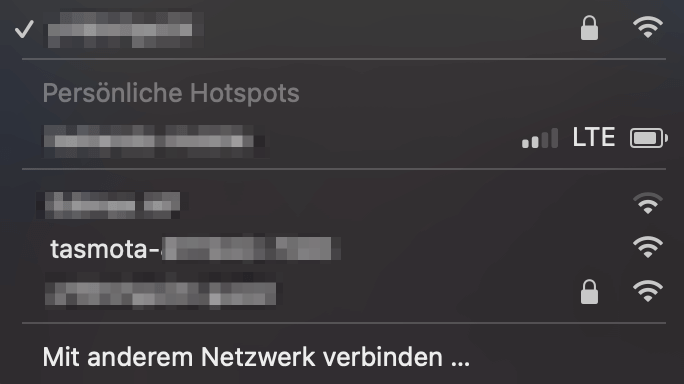
Once plugged in to a power socket, search for a new, unsecured wifi network prefixed with tasmota.
Connect to it and open 192.168.4.1 in your browser to configure the device.
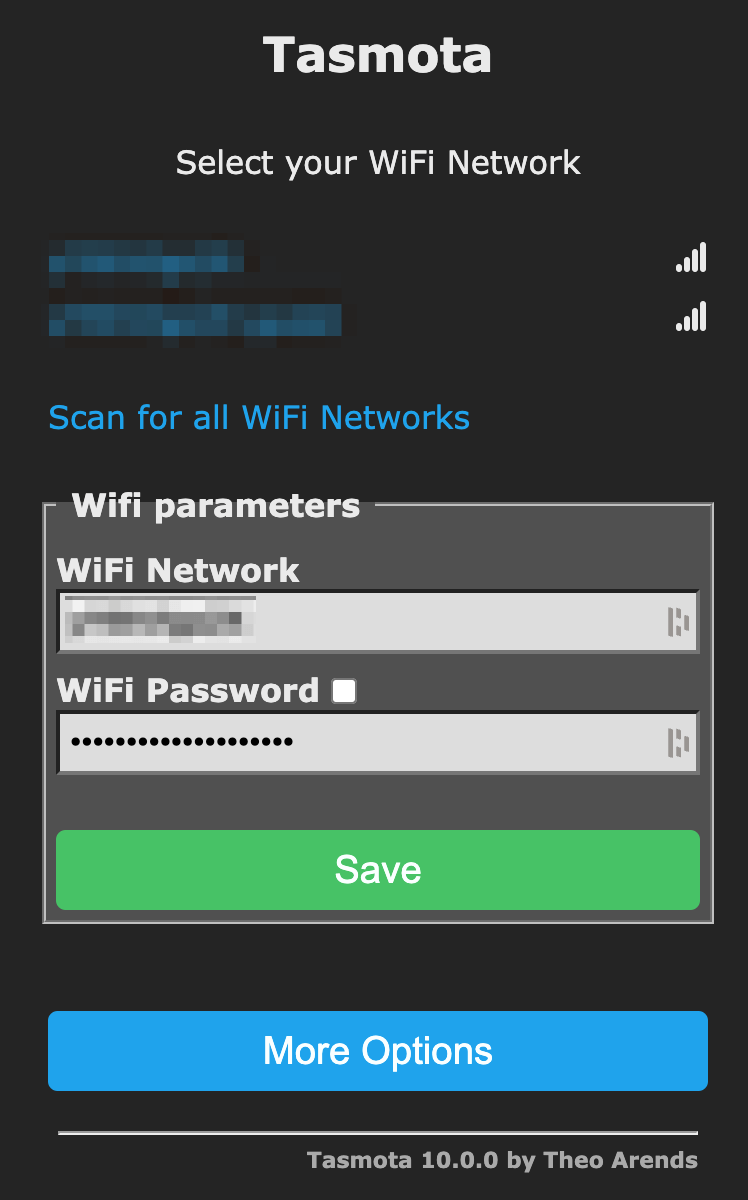
You should now see a list of wifi networks in range. Select the one you would like to connect to. Enter the wifi password and save.
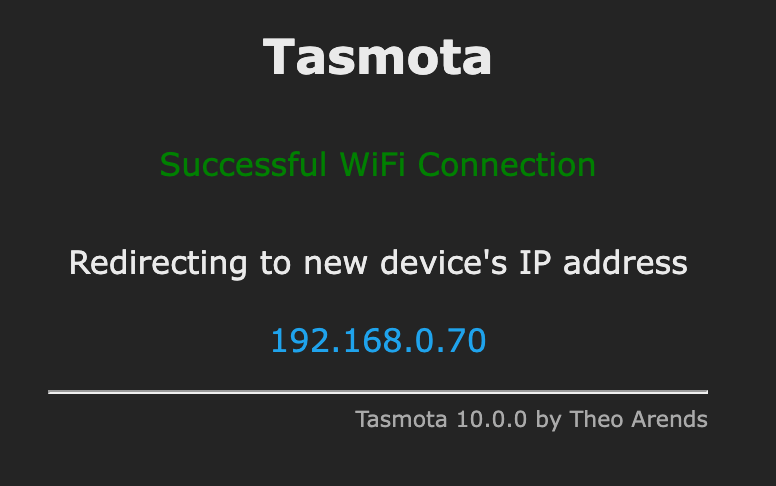
If the wifi connection works fine, you will see the new IP address of the power plug after a short time. Connect your computer to the original wifi network and click on the link displaying the IP address.
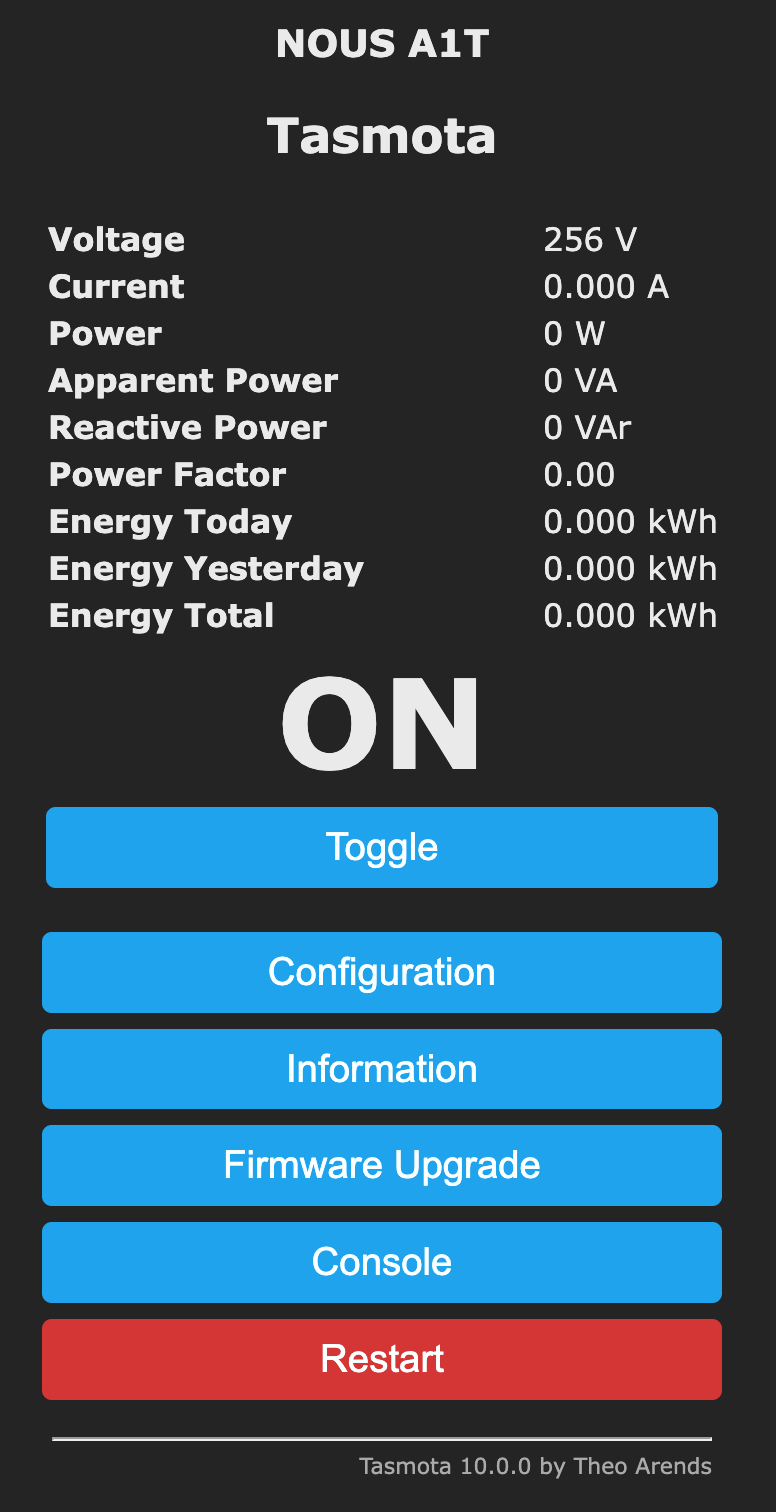
You should now see the main page of your Tasmota device. Just try to toggle it on and off by clicking on the respective button. This should work fine already.
Upgrade the Firmware
I recommend upgrading the firmware once the wifi connection is established. To achieve this, click on the “Firmware Upgrade” button on the main page.
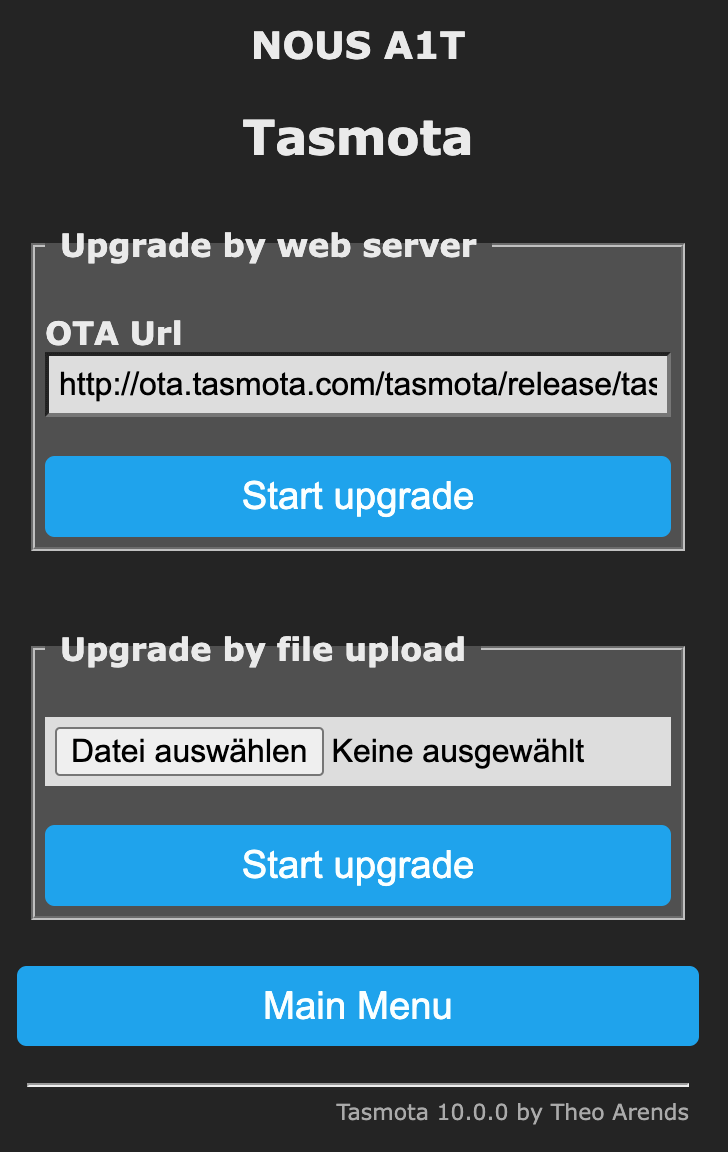
You can either download the firmware manually from the website and upload it to your device, or you just click on “Start Upgrade”, which will download the pre-configured, not localized firmware, and install it automatically.
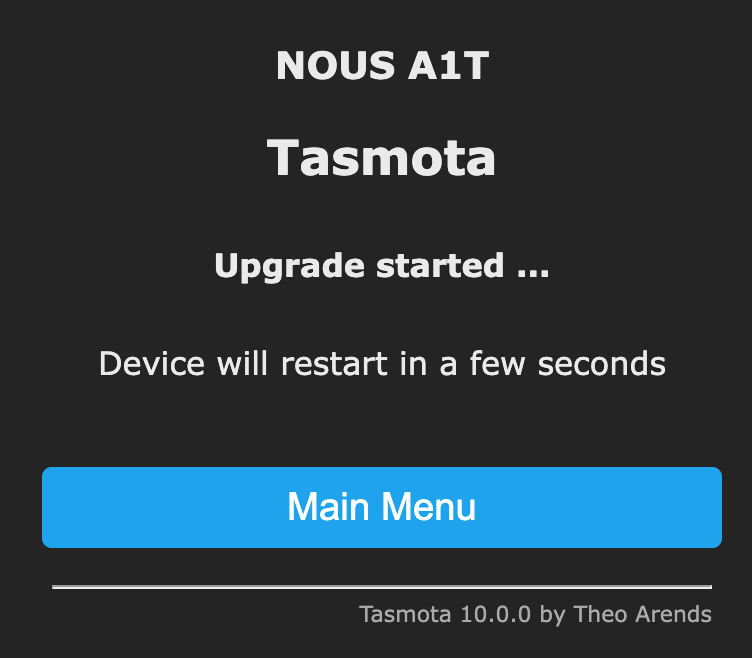
The firmware upgrade will take some time. Once the device is ready again, you should see the new firmware version number on the main screen.
Prepare Home Assistant
The integration of Home Assistant and the Tasmota power plug will be done via MQTT. Therefore, you first need to set up a MQTT broker, if you don’t already have one in place.
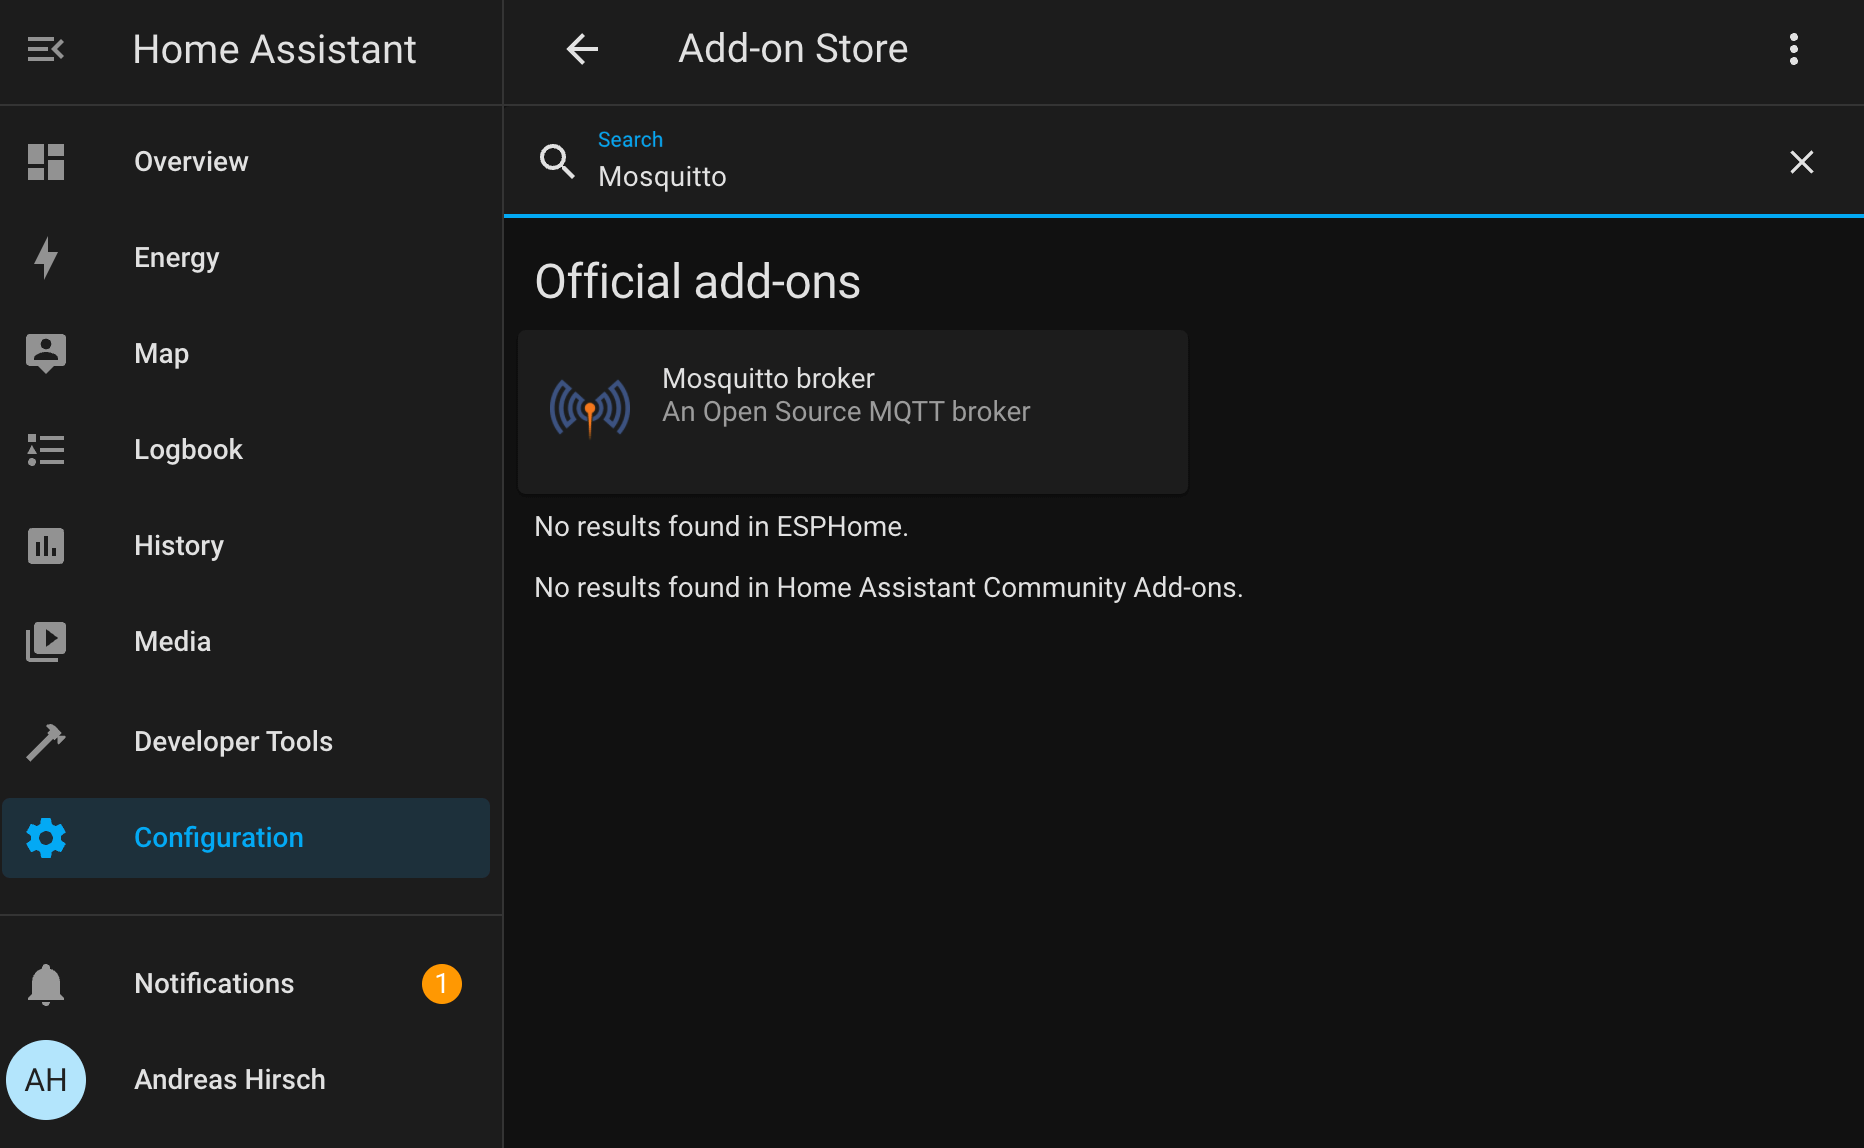
The easiest way is likely to use the Home Assistant Mosquitto Broker add-on, which you can find in the add-on store.
The installation will take some time. After this is done, I recommend enabling the watchdog. It will take care of re-starting the broker, if it crashes. Don’t forget to start the broker.
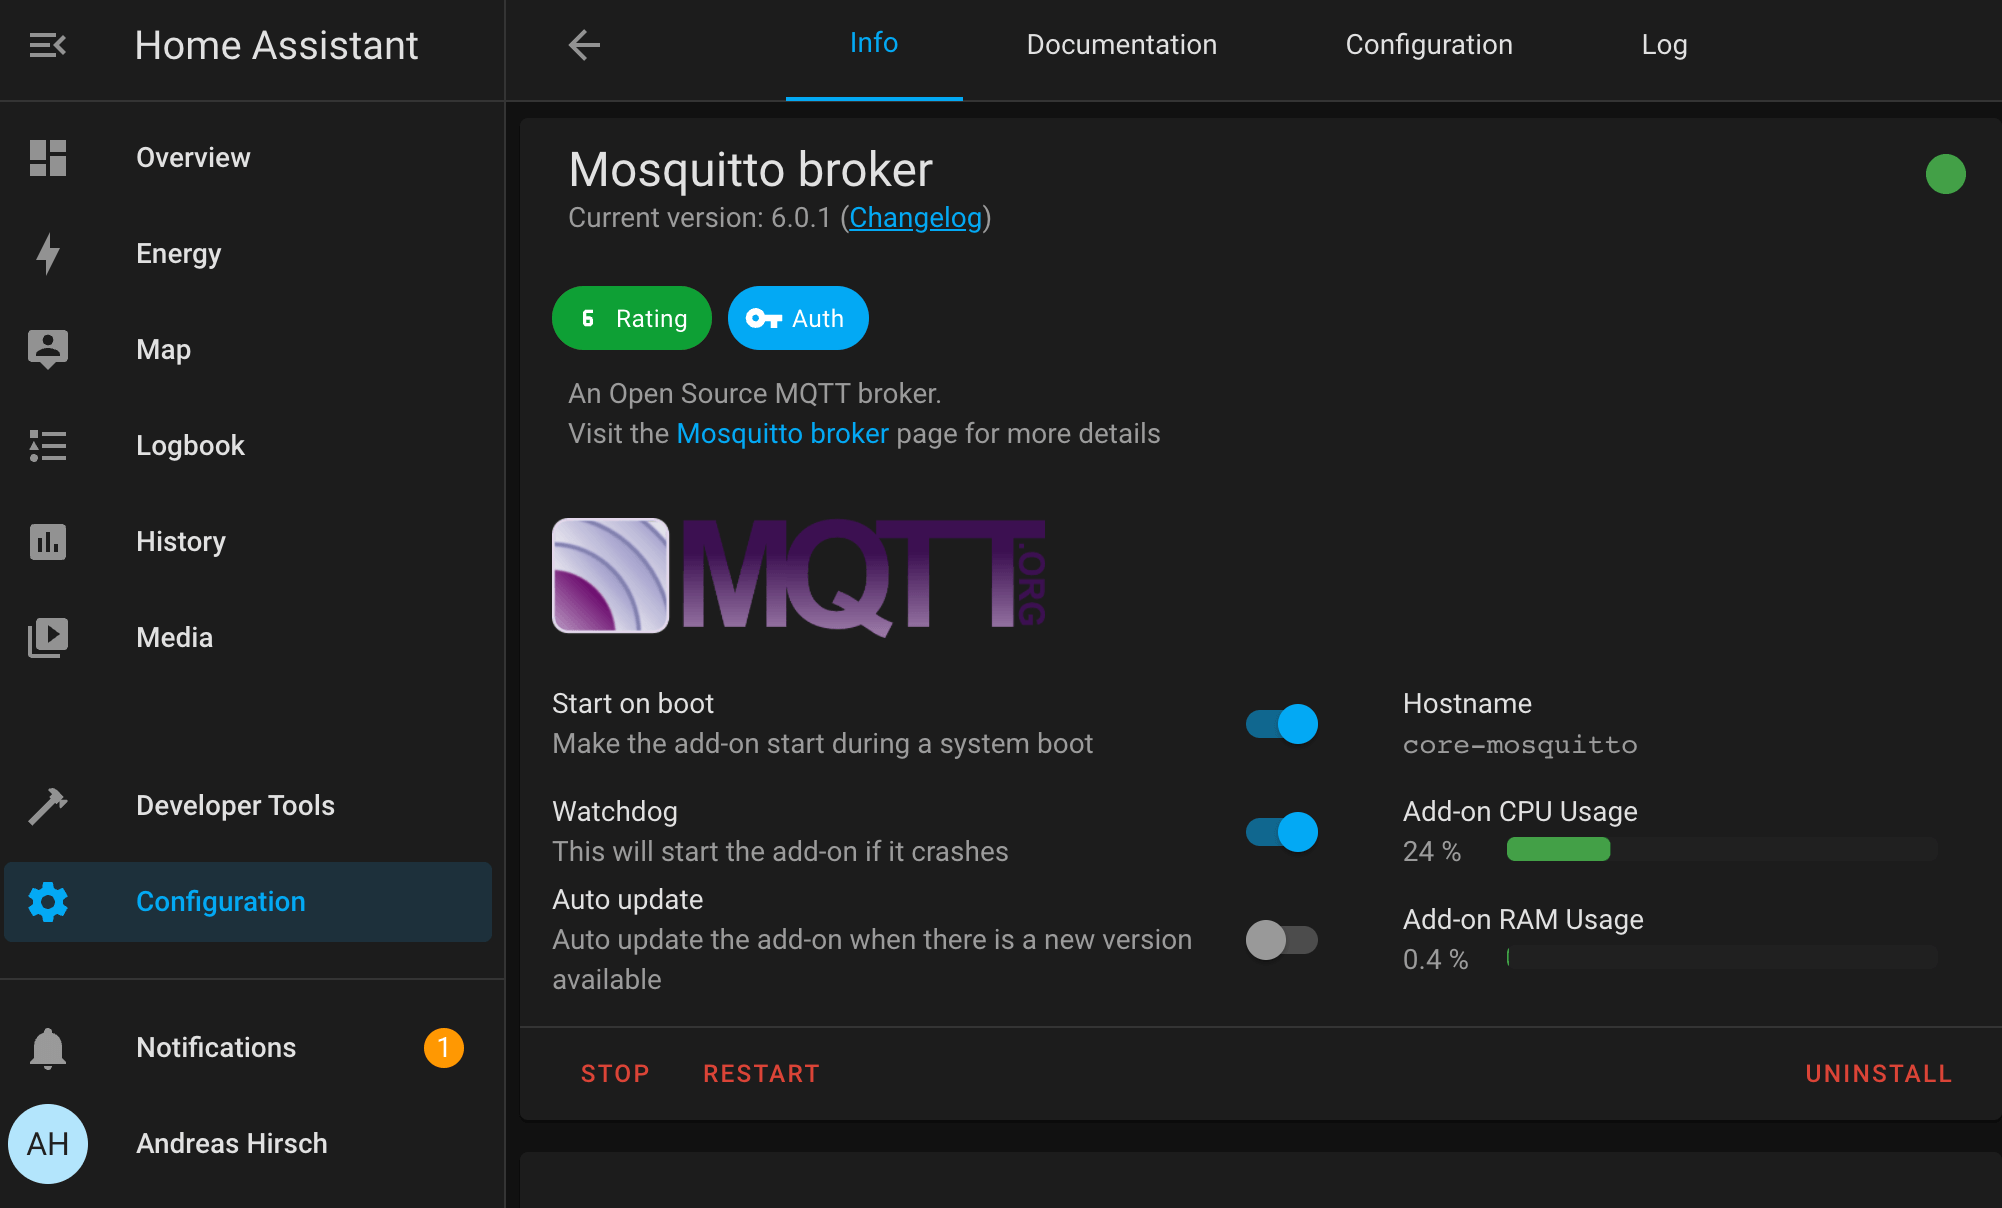
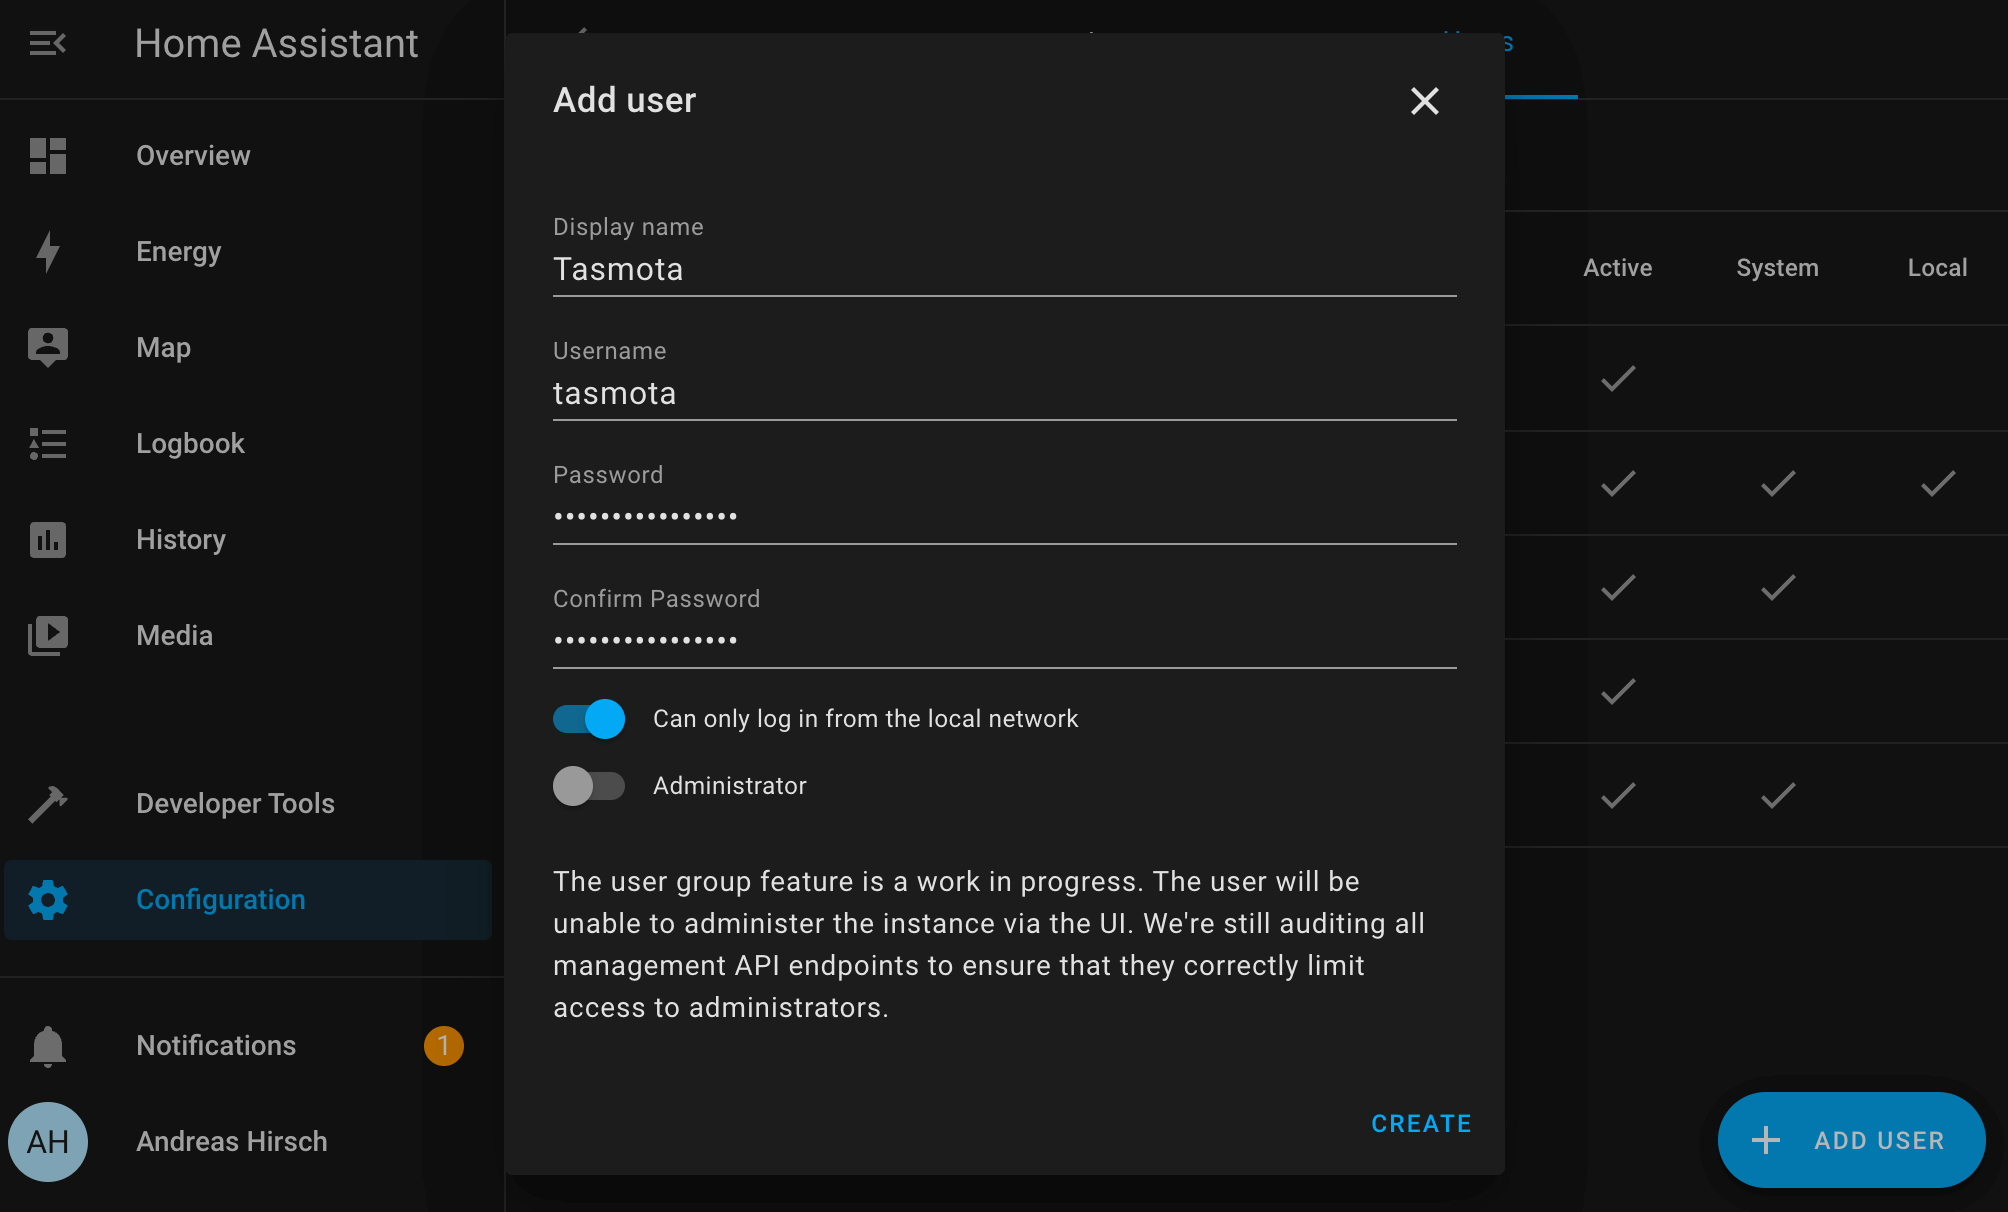
The Mosquitto Broker add-on uses the Home Assistant user base. Therefore, please create a new Home Assistant user for Tasmota connecting to the broker. I recommend to only allow local access for this user, if you don’t have special requirements.
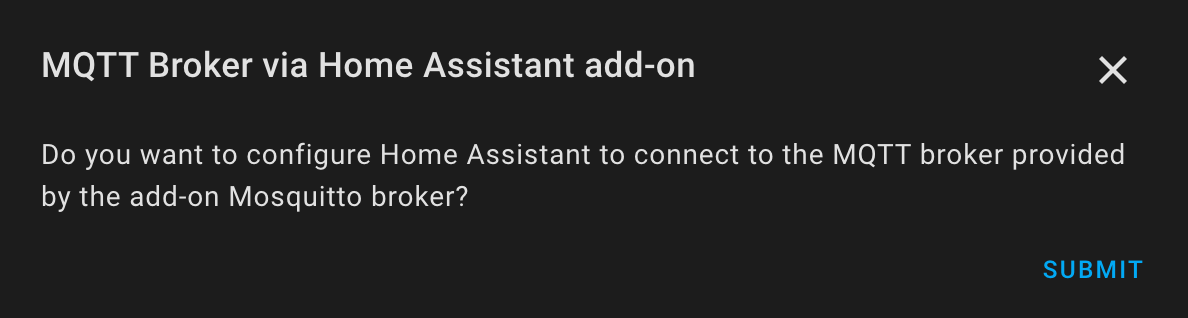
The next step is to set up the MQTT integration of Home Assistant. Navigate to the MQTT integration page and trigger the installation by clicking on the button. As an alternative, you can quickly install it directly from within Home Assistant.
During setup, this integration will ask you if you would like to configure it for using the integrated Mosquitto Broker. Please confirm this by clicking on “Submit”.
Afterwards, please install the Tasmota integration. As before, you can do this using the button on the Tasmota integration page, or you do this directly from within Home Assistant.
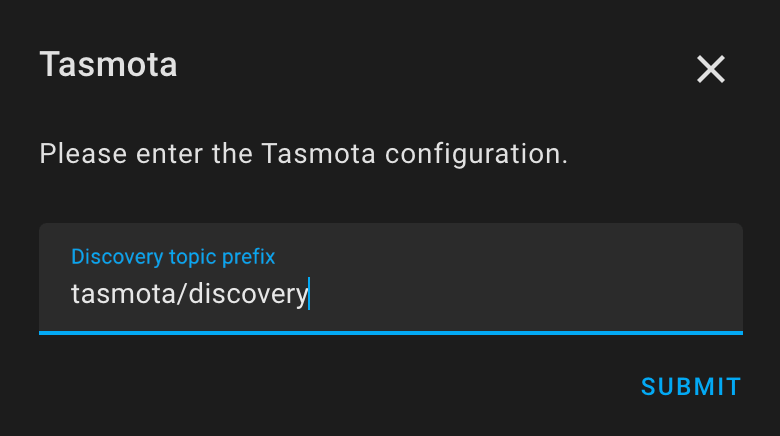
During setup, the integration will ask for the discovery topic prefix. Keep the default value and confirm by clicking on “Submit”. The preparation related to Home Assistant is now done.
Connect Tasmota to MQTT Broker
Now it’s time to connect the power plug to Home Assistant via MQTT. Switch back to the Tasmota user interface and navigate to “Configuration”. Select “Configure MQTT” to open the MQTT configuration page.
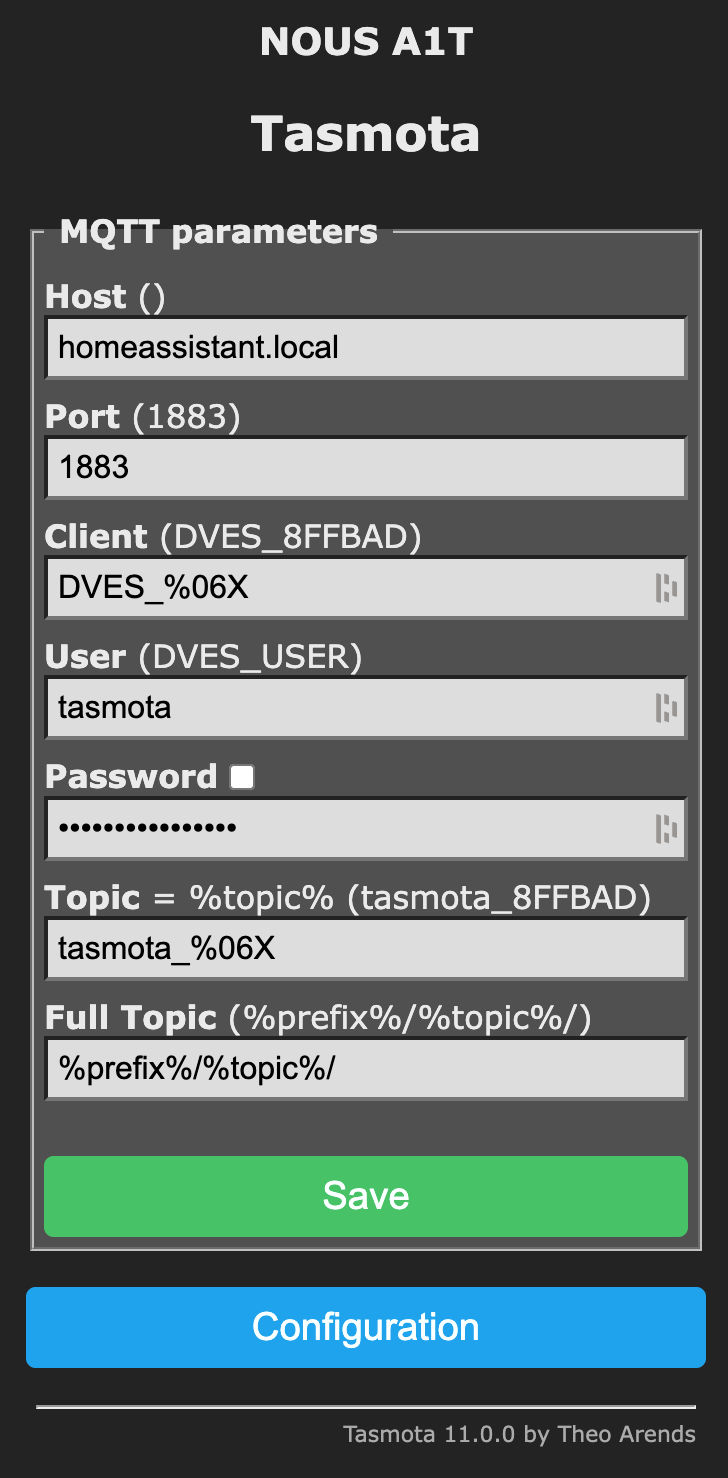
Enter the IP address or the domain of your Home Assistant and enter the credentials consisting of username and password. Keep the default settings for all other input fields and save the changes.
Check Discovered Device in Home Assistant
The basic setup is now done and your Tasmota power plug should be able to send data to your Home Assistant. Switch back to Home Assistant and navigate to “Configuration”. Open “Devices & Services” and search for the Tasmota integration.
The tile should now show, that a Tasmota device exists. Click on the link showing the count of devices on the Tasmota integration tile. You should now see the data related to your power plug.

Toggling the control widget should immediately toggle the power plug. From this point on, you can use the sensors like any other sensors on dashboards and in automations.
Prevent Turning Off
As stated in the introduction, one of the most suspicious devices with regard to power consumption is the old freezer. Since turning off the power supply of such a freezer is a bad idea, I was highly interested in preventing to turn off the power plug.
A short research delivered the result I was searching for.
Tasmota provides some commands you can use to configure additional settings.
The one relevant here is the poweronstate command, which is explained in the documentation.
By configuring it with value 4, you force the power plug to be always on.
Once set, pushing the physical button won’t have any effect.
The same applies to the toggle provided in the Tasmota user interface as well as to the MQTT toggle.
This is exactly what I wanted to achieve.
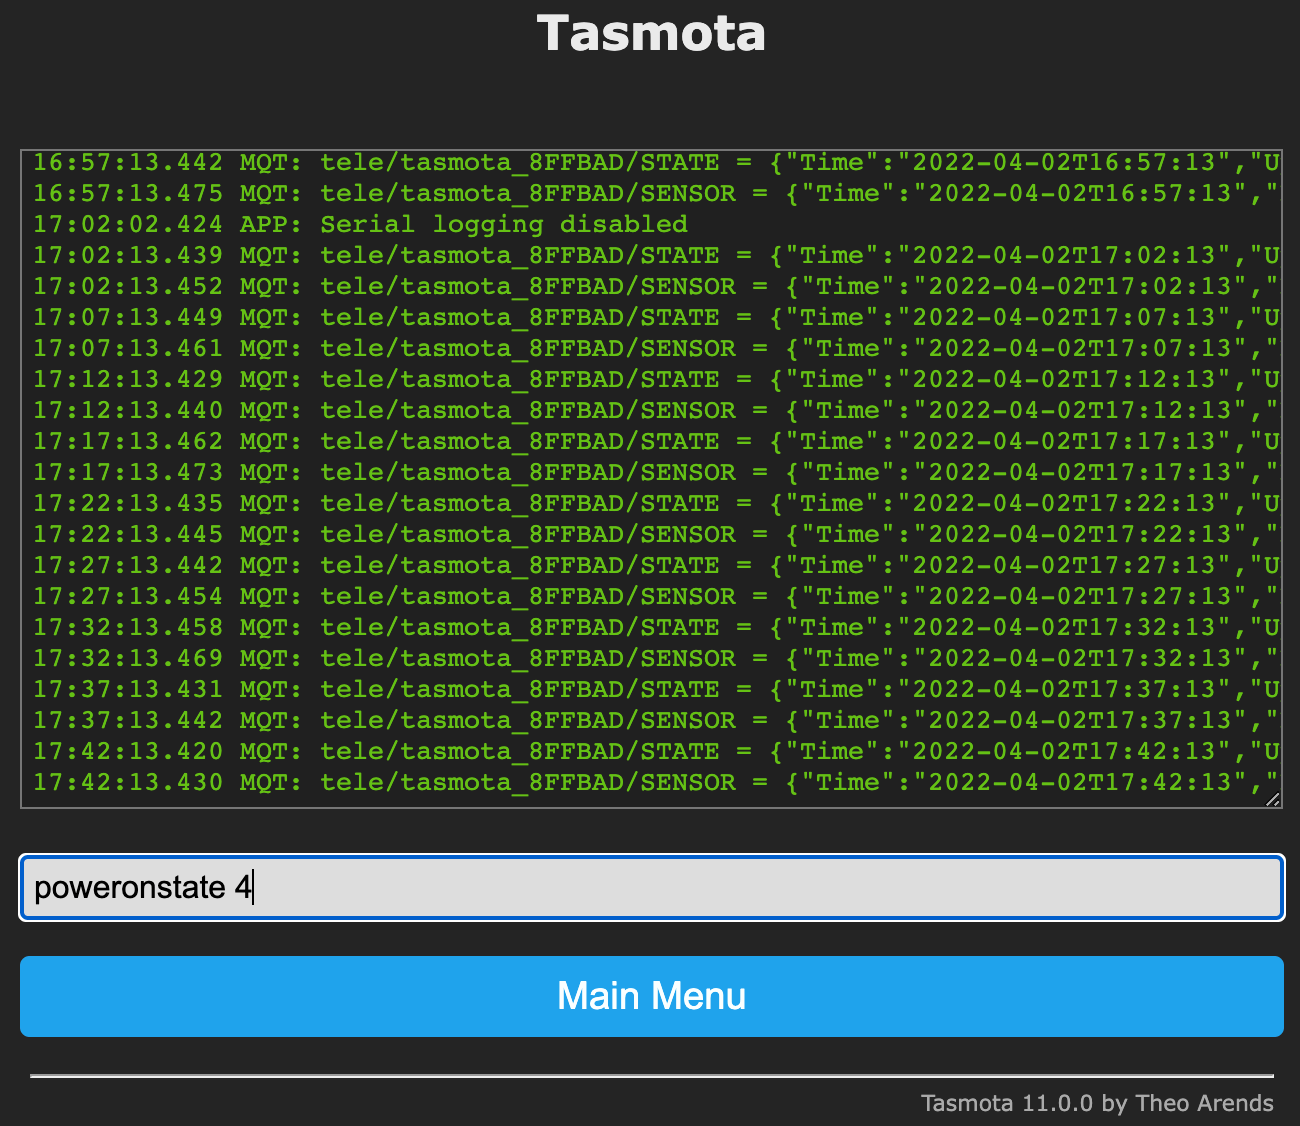
To run the command, open the Tasmota user interface.
Navigate to “Console”, enter the command poweronstate 4 and submit the command by pressing return on your keyboard.
Securing the Tasmota User Interface
The previous step is nice and prevents accidentally turning off the power plug.
An attacker with access to your local network would still have the possibility to revert the poweronstate setting by running the command via the unsecured Tasmota user interface.
To prevent this and to introduce some level of security in general, I recommend setting a password for the Tasmota user interface.
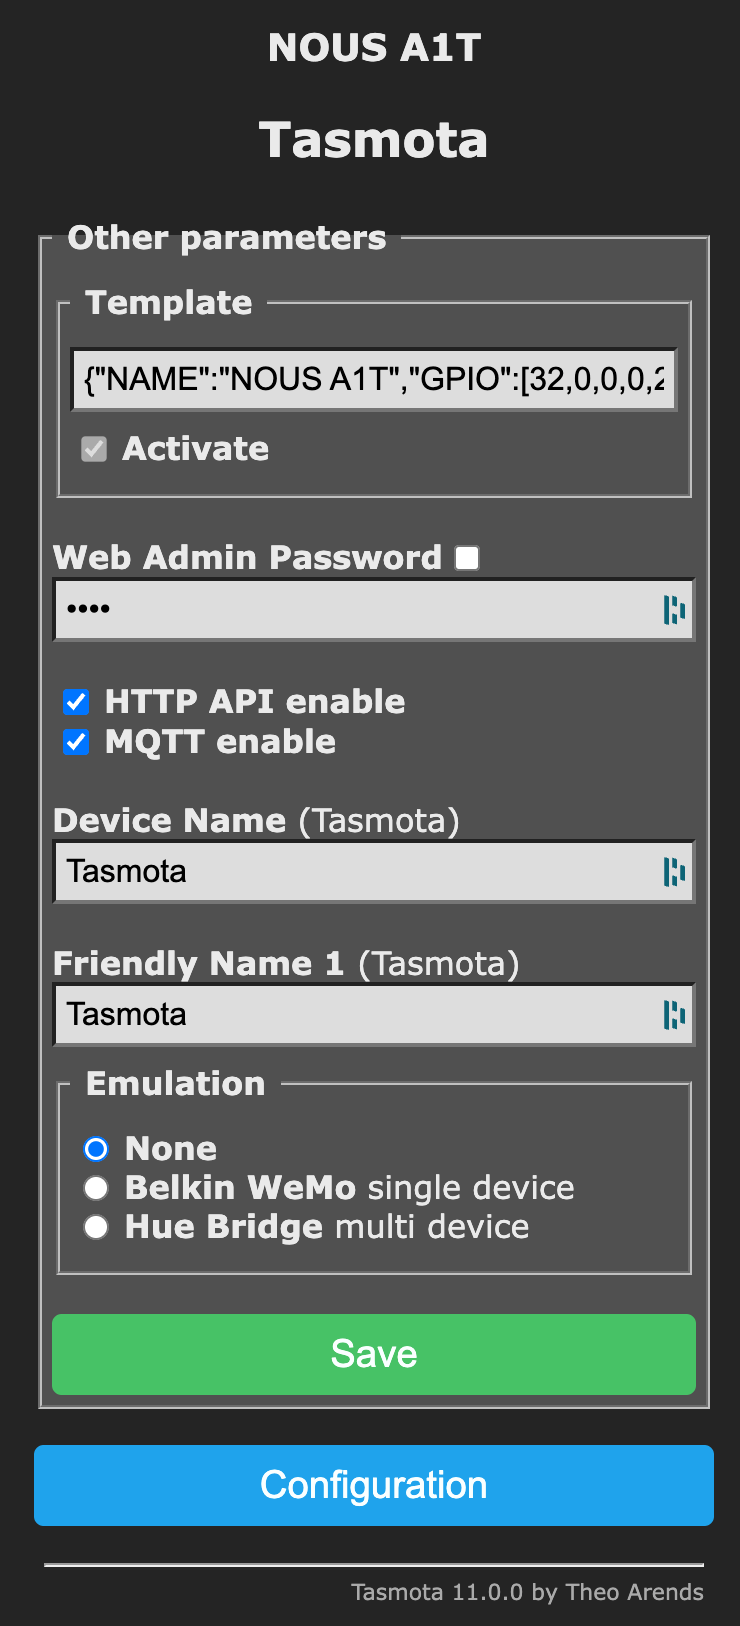
You can set a password by navigating to the Tasmota user interface and clicking on “Configuration”. Select “Configure Other” and enter the desired password in the appropriate input field. Save your changes and the web interface is secured.
Conclusion
In this blog post, we had a closer look at how Tasmota based power plugs can be integrated with Home Assistant. In addition to automation use cases, this integration can help to identify devices with huge power consumption in order to replace them with more efficient ones to save costs.
To avoid turning off devices accidentally, we configured the power plug to be always on and by setting a password for the Tasmota user interface, the setup got a bit more secure.
The setup in my parents house is based on the description provided here. We are now looking forward to some power consumption insights.
2 Comments
Ulli on September 24, 2022
Hi Andreas, great page. Saves me some time. Did you manage to integrate the entities in the energy dashboard? I can't choose the entities for dayly use the monitoring "Ein Gerät hinzufügen"? Thanks Ulli
eric on November 07, 2022
Thanks!! The firmware upgrade saved my life. Wasn't able to find the plus in HA with FW Tomota 9
Leave A Comment
I'd love to hear your opinion and experiences. Share your thoughts with a comment below! Please note that comments will appear after moderation.